1. Installation
This tutorial walks through installing the DataFlex TechStack step by step.
Step 1 — Download DataFlex Studio (27.0 Technical Preview)
Open the DataFlex Download Center at download.dataflex.dev. Locate DataFlex Studio — the installer for the development environment used to create DataFlex Windows and web applications.
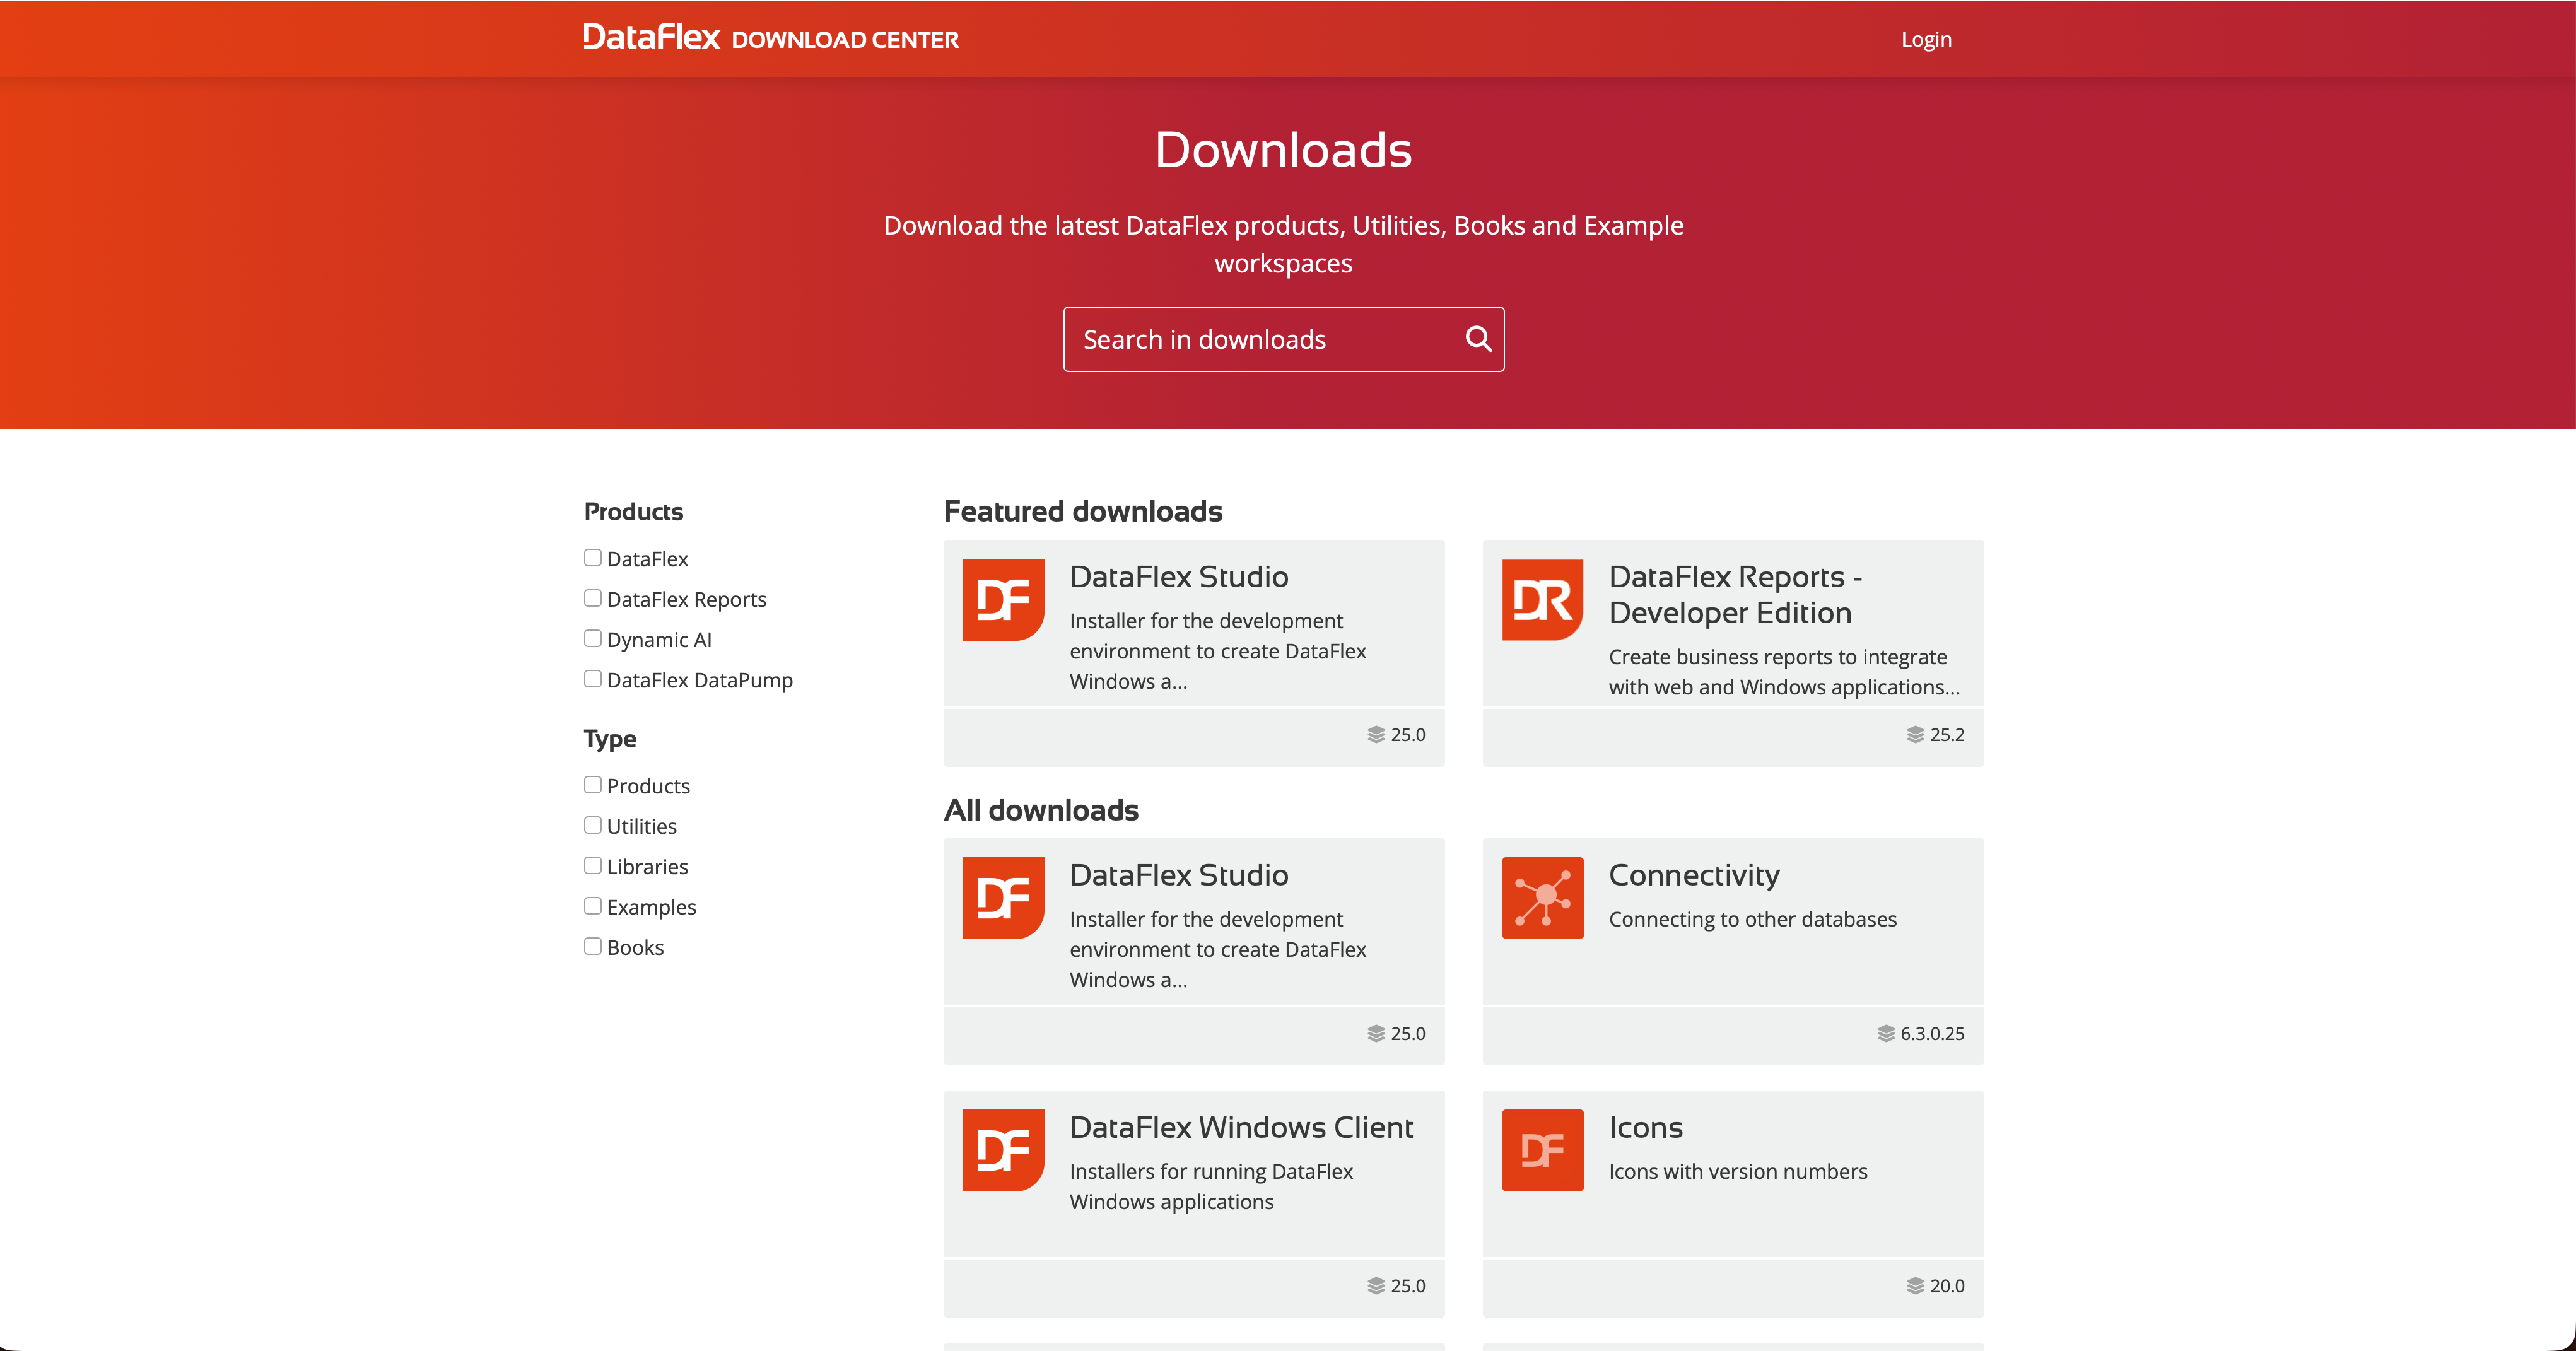
Open the Pre-releases tab on the DataFlex Studio download and get the latest 27.0 Technical Preview Studio installer.
Step 2 — Run the Studio installer
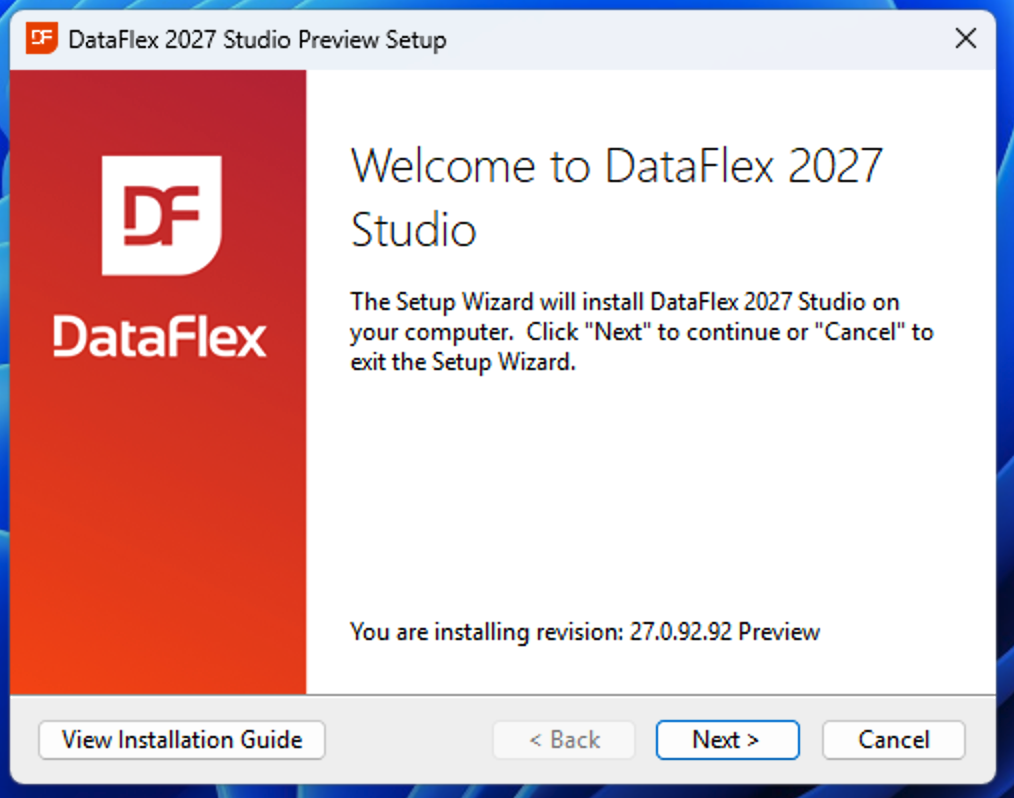
Run the downloaded installer and follow the Setup Wizard. On the welcome screen, confirm you are installing the 27.0 Technical Preview revision, then click Next.
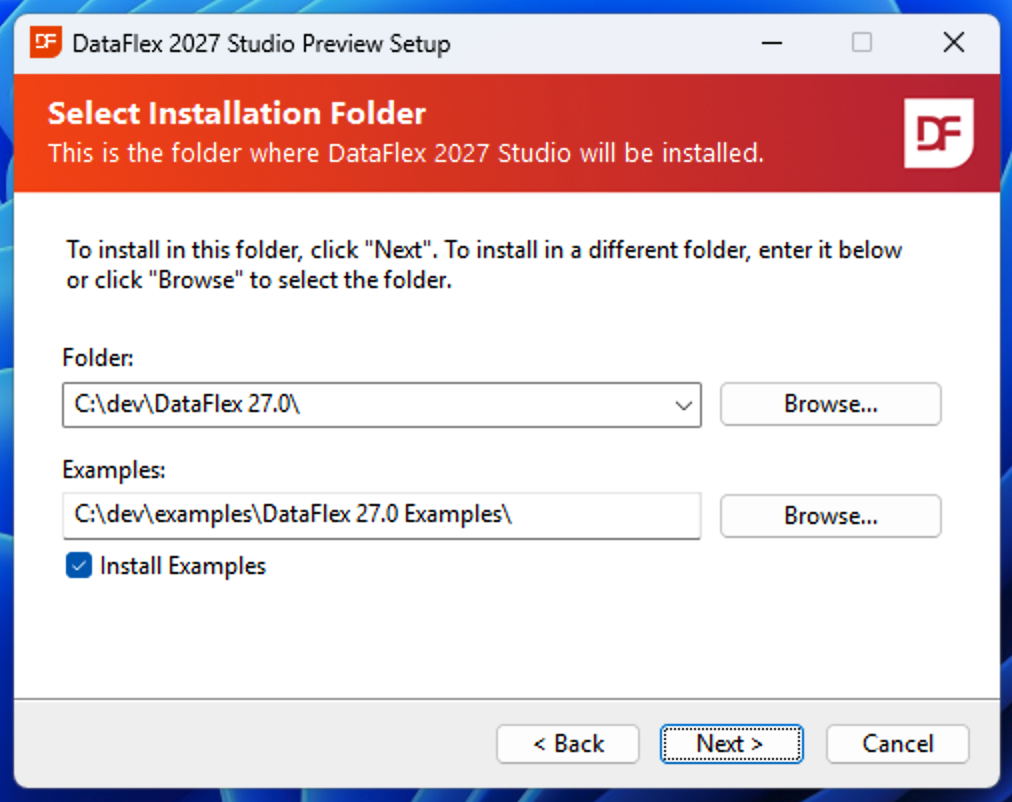
On the Select Installation Folder screen, keep the default install Folder unless you have a reason to change it.
For the Examples folder, install to a non–user-bound directory such as C:\dev (for example C:\dev\examples\DataFlex 27.0 Examples\) rather than a location under your user profile, so the samples avoid permission issues. Keep Install Examples checked, then click Next.
Step 3 — Open the Studio and run a sample
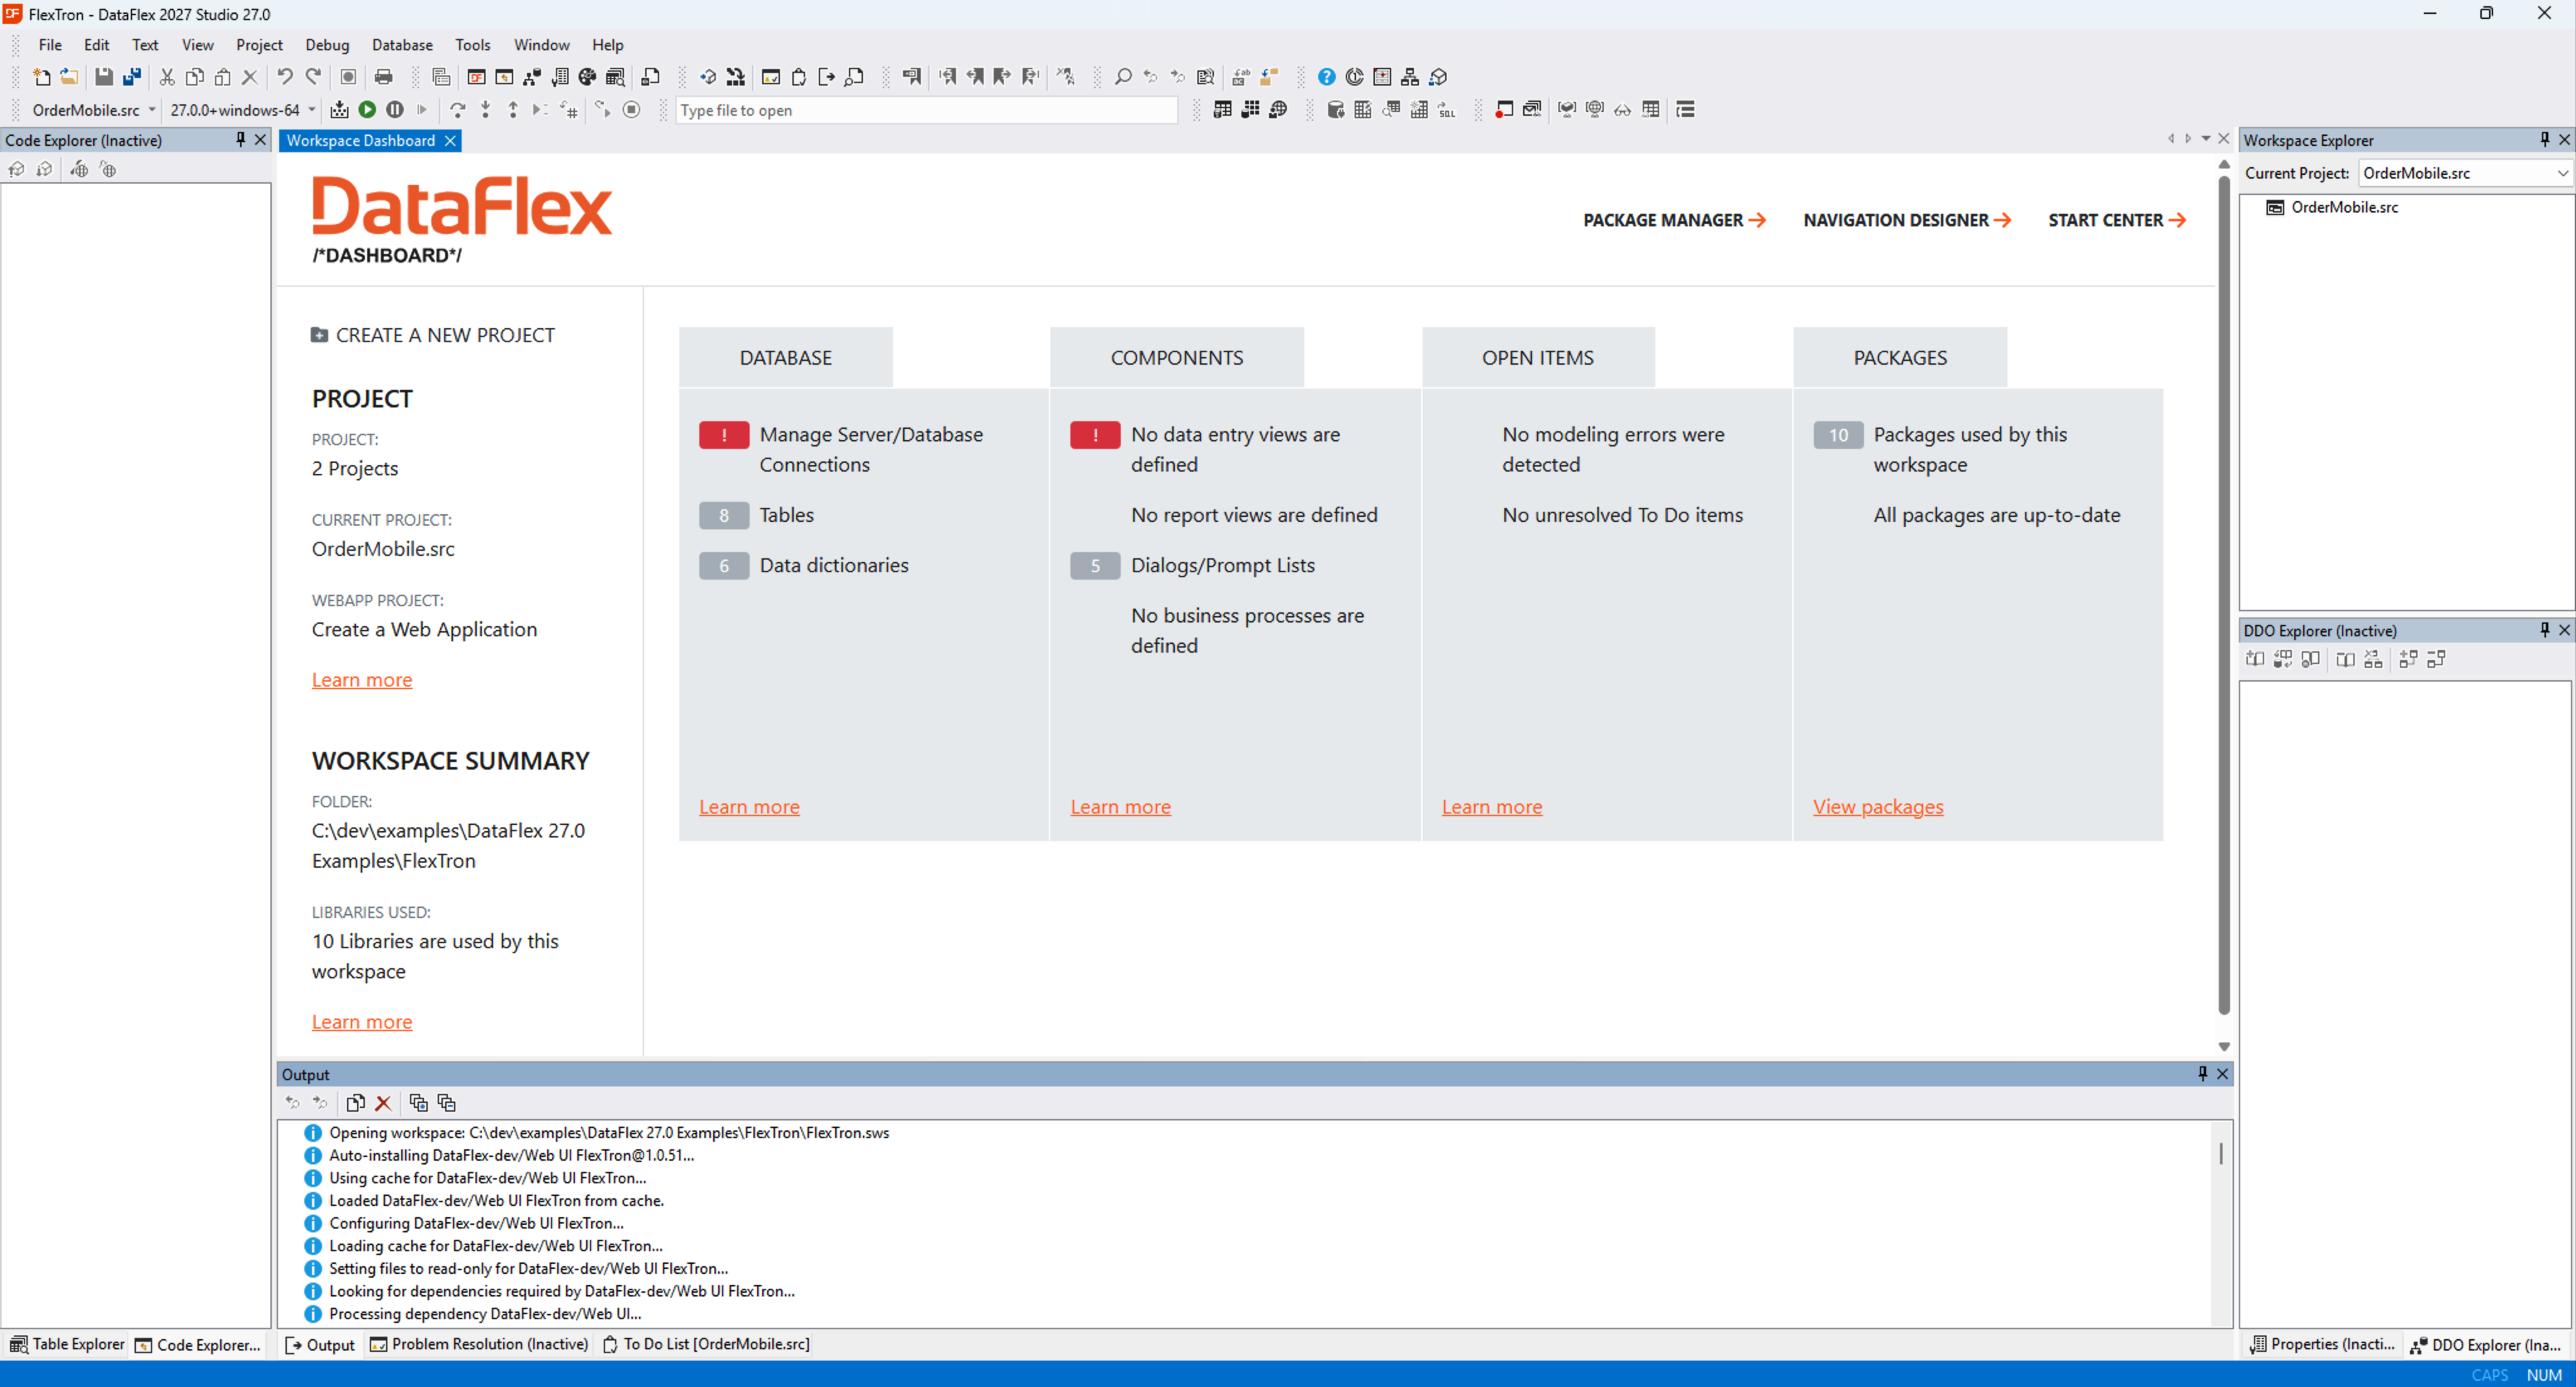
When installation finishes, the Studio opens automatically (via the installer's checkbox). If you have used the DataFlex Studio before, the environment will look familiar. All installed samples work out of the box.
Open a sample — for example FlexTron. The first time you open a sample, an internet connection may be required: the Studio uses the built-in DataFlex Package Manager to pull the sample's dependencies. You can follow this and other activity in the Output panel at the bottom of the screen.
For more on the package manager and build system, see DfCli Usage.
Step 4 — Next: toolchains
DataFlex is installed and you can start developing. Before building your own projects, continue with a short introduction to toolchains.
Next: 2. Toolchains.