4. Building an App
This part packages the WebAssembly WebAppClient you built in 3. Creating a new project as an installable Android app, using the Android Build Service — an experimental service provided by Data Access at https://abs01.daelab.net/. Android is the platform available today; iOS app versions are planned, and the service's UI already shows an iOS target marked Coming soon.
The whole service is a single form: platform, app identity, an icon, the AppHtml archive, signing options, and Start build. When the build finishes, the same page offers the APK, the generated keystore, and a QR code for installing straight onto a phone.
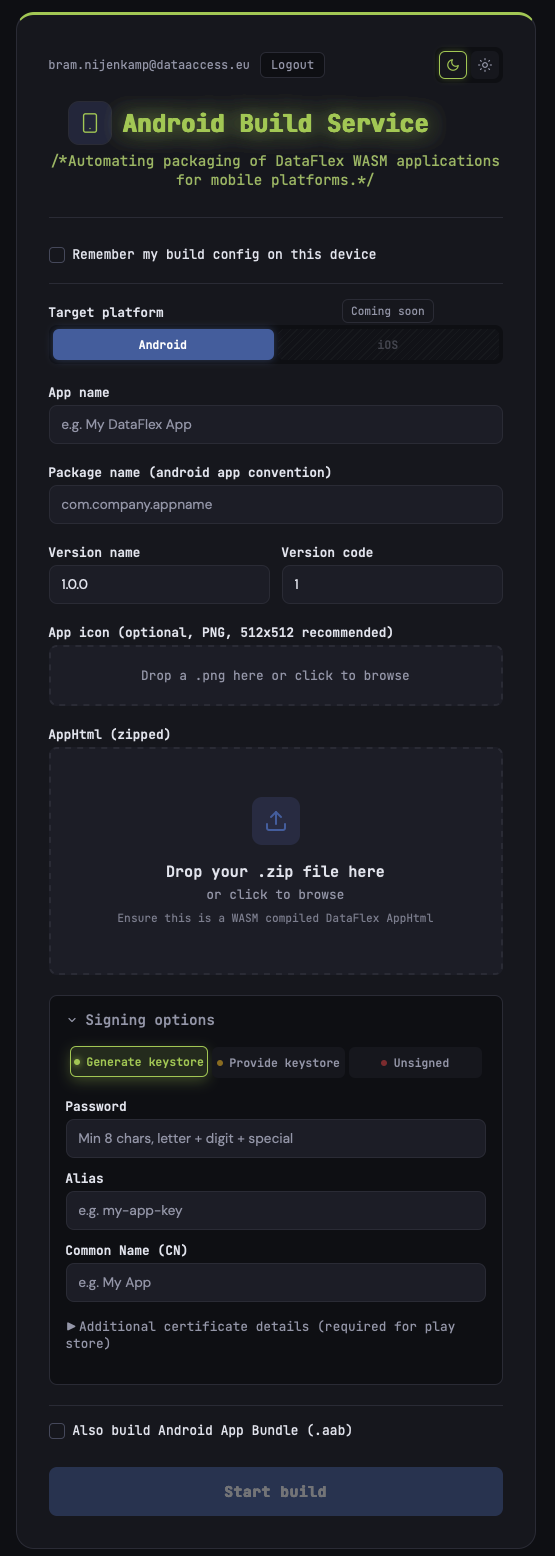
What you'll build
- A ZIP archive of your project's
AppHtmloutput. - A signed Android APK — and optionally an .aab App Bundle — generated by the build service.
- A keystore that identifies your app for every future update.
- The app installed and running on an Android device.
How the packaging works
AppHtml is already the complete, self-contained web application. It holds index.html, the WasmRT directory with the WebAssembly DataFlex runtime (its .js and .wasm files), your compiled DataFlex application (ClientApp.flx), and the Web UI framework with all of its JavaScript and CSS.
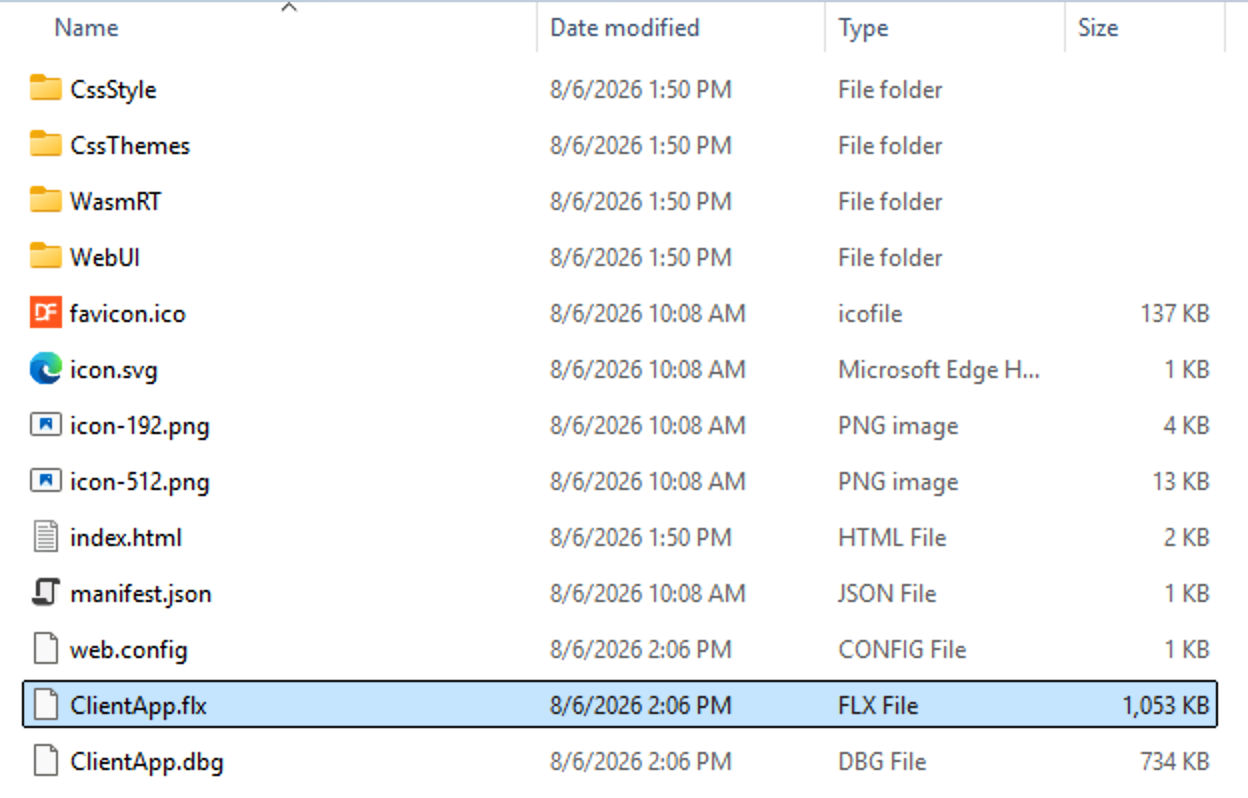
Because the runtime executes on-device, the app needs no application server. Packaging is therefore nothing more than handing that directory to the build service, which wraps it in an Android application shell. The files the browser downloaded in part 3 are the same files that now ship inside the app.
Step 1 — Build the WebAppClient and check AppHtml
Build the WebAssembly project with F5 or the play button, exactly as in part 3, so AppHtml contains the current .flx. Whatever sits in AppHtml at zip time is what ships, so rebuild after any source change and check the directory before you continue.
Step 2 — Zip AppHtml
Compress the AppHtml folder into a .zip.
The entry document has to be called index.html. That is the file the app opens at startup, so a differently named one leaves it with nothing to load.
web.config is only used by IIS and is harmless inside the archive; you can leave it in.
Beyond that, the archive should hold web application content and nothing else. Executables, installers and scripts are rejected, so a directory that still contains build tooling, an installer, or a helper script left behind by a template fails validation before the build starts. Zip a finished AppHtml, not a working directory.
The archive cannot be password-protected.
Step 3 — Sign in to the Android Build Service
Open https://abs01.daelab.net/. You are redirected to the DataFlex Account sign-in at account.dataflex.dev and returned to the service once you have logged in, so a DataFlex Account is required.
The form opens on a single page. Tick Remember my build config on this device to keep the form values locally, so repeat builds do not have to be retyped.
What the remember option keeps
Your typed values and your selections: app name, package name, both version fields, the key alias, the certificate details, and the platform, signing mode and App Bundle choices. They stay in this browser on this device and are not sent anywhere to be stored.
Passwords and the files you attach are never remembered, so those are filled in again on every build.
Step 4 — Choose the target platform
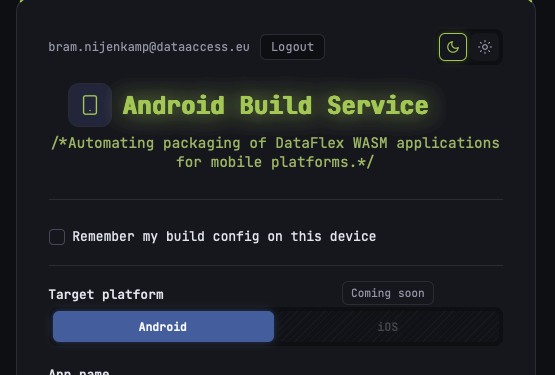
Android is preselected. iOS is present but disabled with a Coming soon badge, so the current output is an Android app.
Step 5 — Name and version the app
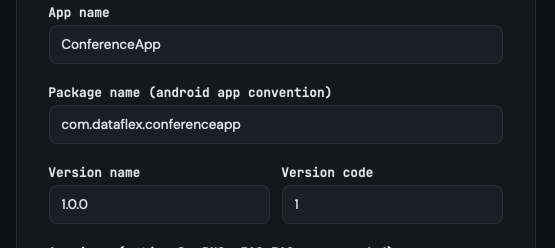
- App name — the label users see under the launcher icon and in the app list, here
ConferenceApp. Unlike the package name, it is not fixed: a later build can ship a different label. - Package name (android app convention) — the application ID in reverse-DNS form, here
com.dataflex.conferenceapp: lowercase, dot-separated, and unique per app. It needs at least two segments, and every segment starts with a letter and continues with letters, digits or underscores, so hyphens and leading digits are rejected. It is the app's permanent identity on the device and in Google Play; two apps with the same package name cannot coexist, and once published it can never be changed. - Version code — an integer Android uses to order releases. Each upload must have a higher value than the one before it (
1,2,3, …). Users never see it. - Version name — the human-readable version string, here
1.0.0. It is shown in app info and store listings, is free-form, and is not used for update ordering.
Step 6 — Add an app icon
Drop a .png on the App icon field or click it to browse. The selected file is listed below the field with a preview, and the × removes it again.
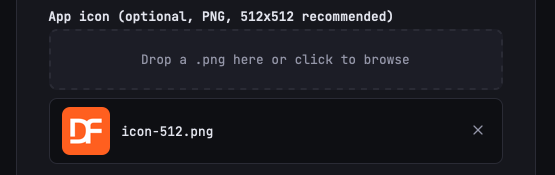
The icon is optional and has to be a .png. Use a square image of 512×512 or larger. Transparency is preserved. Omit it and the service's default icon is used.
The icon also sets the splash screen background, so use artwork with a solid center. Round and padded icons are fine.
Step 7 — Upload the AppHtml zip
Drag the .zip from Step 2 onto the AppHtml (zipped) drop zone, or click it to browse. The hint text — "Ensure this is a WASM compiled DataFlex AppHtml" — is the reminder that this must be the WebAssembly build output from Step 1, not a WebAppServer directory.
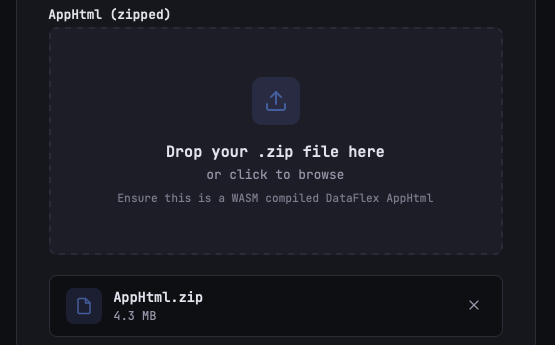
The archive is listed with its size once it is attached — a few megabytes is normal, since the runtime and the Web UI framework travel with it.
Step 8 — Choose signing options
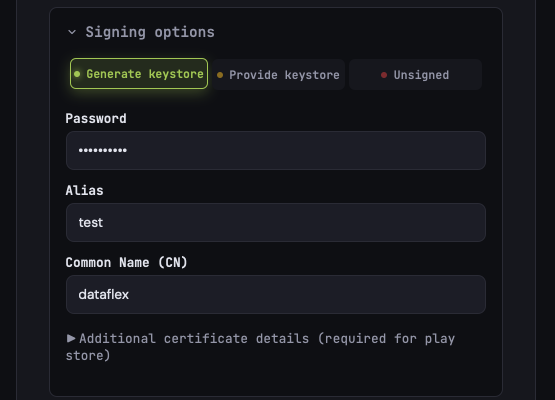
Android will not install an app whose APK is not signed, and the signing key is what proves later versions come from you.
- Generate keystore — the service creates a new keystore for you. Fill in Password (at least 8 characters, with a letter, a digit and a special character, ASCII only, and none of
",\,$,`,!,,or=), Alias (the key's name inside the keystore, for examplemy-app-key) and Common Name (CN) (the certificate's subject, typically your app or company name). Expand Additional certificate details when you intend to publish on Google Play. - Provide keystore — upload the keystore you already use, as a
.p12or.jksfile, together with the same password and alias. This is the option to pick for an app that is already published, and the option you use for every update after your first build. - Unsigned — produces an unsigned APK for pipelines that sign afterwards. It cannot be installed on a device as-is.
Step 9 — Optionally build an App Bundle
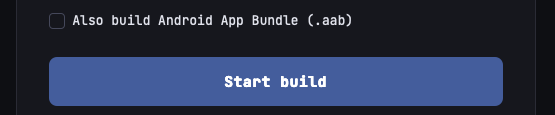
The APK is what you sideload onto a device for testing. Also build Android App Bundle (.aab) additionally produces the .aab format Google Play requires for new uploads, from which Play generates per-device APKs. Leave it off for local testing; switch it on for a Play release.
Step 10 — Start the build
Press Start build. The service packages the upload server-side, applies the signing choice from Step 8, and reports back on the same page when it is done.
Step 11 — Store the APK and the keystore
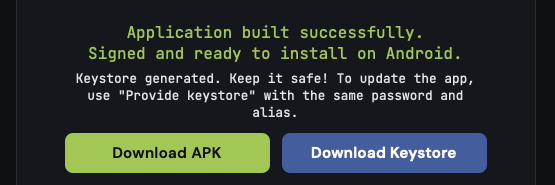
The result panel offers:
- Download APK — the installable app. Take this for sideloading onto a test device, for an emulator, or for a release you distribute yourself.
- Download Keystore — the keystore the service just generated, when you chose Generate keystore. Together with the password and alias from Step 8, it is what you feed back into Provide keystore for every future version of this app.
- Download AAB — the App Bundle, listed underneath the other two when you enabled it in Step 9.
Keep your production keystore — it cannot be replaced
The keystore is your app's identity. Android and Google Play accept an update only when it is signed with the same key as the version before it, which is exactly what proves the update really comes from you.
Store the keystore file, its password and its alias in a safe place you control, such as a password manager or a secured backup. Data Access does not keep track of your keystores and does not store copies of them, and is not responsible for keys you lose. Lose the keystore or its password and you can no longer publish updates to that app — the only way forward is a new app under a different package name.
Step 12 — Install the app on a phone
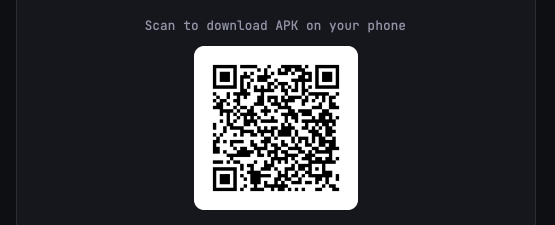
The result panel also renders a QR code under Scan to download APK on your phone. Scan it with the phone's camera and the download starts on the device, which is quicker than copying the APK across by cable or cloud storage.
Open the downloaded APK on the phone to install it. Because the app does not come from the Play Store, Android asks for permission before it installs:
- Your browser or file manager needs the one-off permission to install unknown apps.
- Android's Play Protect scan then reports that the developer is not recognized — wording differs per brand and Android version ("unknown developer", "unverified publisher", "app from an unknown source"), and some manufacturers add a second confirmation of their own.
Choose the option that continues the installation — commonly Install anyway or More details → Install anyway — and the app installs. This is the normal path for any app distributed outside the Play Store; a Play Store release with a registered developer account is what removes the prompt.
The app then launches like any other app, with the DataFlex runtime executing on-device exactly as it did in the browser in part 3.
Where to go next
That completes Getting Started. You have a TechStack workspace, you know how to add projects to it, you know how the selected toolchain decides whether your application runs as a native executable or inside the browser, and you have packaged that browser application as an installable Android app.
From here the Studio is familiar ground: DataFlex developers who know the ecosystem can go on creating views, dialogs, and business logic as they always have. The biggest change is Data, and that is covered separately.
| Where | What you'll find |
|---|---|
| Samples | Complete, runnable TechStack applications, including the Conference App. |
| Tutorials | Step-by-step guides on individual subjects, building features from first principles to complete workflows. |
| 2. Toolchains | The toolchain model: flavors, versions, install locations, and the toolchain selector. |
| API Reference | Class and topic reference for the TechStack APIs. |